

Video Learning
Here's a brief video to get you started.
Use Case Steps
Offers are a powerful feature in Loyalty Essentials that enable marketers to present promotions, discounts, and special deals to their customers. The platform supports many Offer types and configurations, allowing you to target different groups of customers, apply rules to define when someone qualifies, and to limit Offers based on time, location, or allocation.
This article describes how to create a Coupon type Offer that applies a percentage discount to an order sub-total.
Use case: Cooper and Madison are excited to reward their loyal customers with a special offer. When customers spend above $25 on a single purchase, they will receive a 15% discount. This Offer is available year-round, allowing customers to take advantage of it whenever they choose. However, it can be used only once per year.
-
Select Campaigns from the top navigation bar, then select Offers > Offers from the side navigation menu. The Offers screen is displayed.
-
Search for the Offer template named:TEMPLATE_Subtotal_Discount_Percentage . You can search for this specific template by entering its name in the Search field at the top.
-
Next to the Offer template, click the Copy icon.

-
The platform creates a copy of the Offer and displays the Offer Details screen with the Definition tab selected. The default name of the new Offer is the name of the base template followed by a counter, such as "(1)."
-
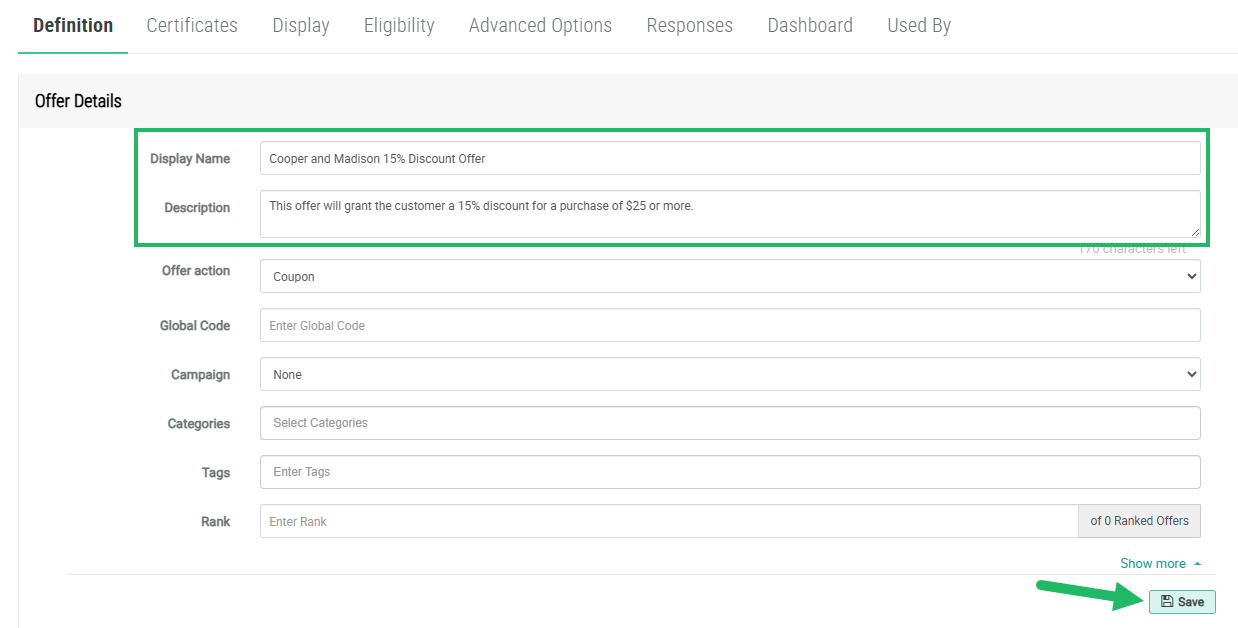
On the Definition tab, in the Offer Details section, update the Display Name to reflect your Offer purpose, and optionally enter a description in the Description field.
-
By default, Offer templates are assigned to the Template Offer Category, and assigned the Tag value of Template. Offer Categories are used to organize Offers, often for controlling what Offers get displayed on your website or app. Tags are intended to make it easier to search for the base templates within your Loyalty Essentials account. When you copy a template, the best practice recommendation is to remove these default Category and Tag assignments in the copied Offer. In the Categories field, click the X icon next to Template. Likewise, in the Tag field, click the X icon next to Template. Optionally, you can assign your own Offer Category and / or Tag value to the new Offer.
-
Click Save.
-
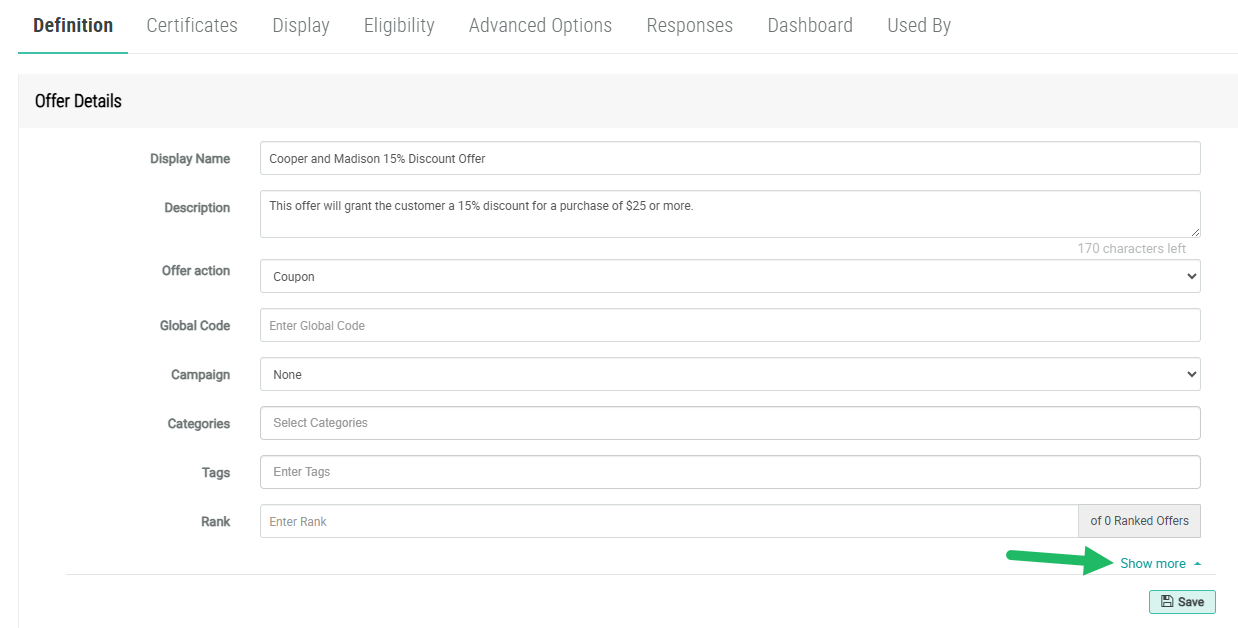
When copying an object, the recommended best practice is to update the object's Internal Name so as to avoid any duplicate name issues if you copy this object again in the future. At the bottom of the Offer Details section, click Show More to display additional fields.
-
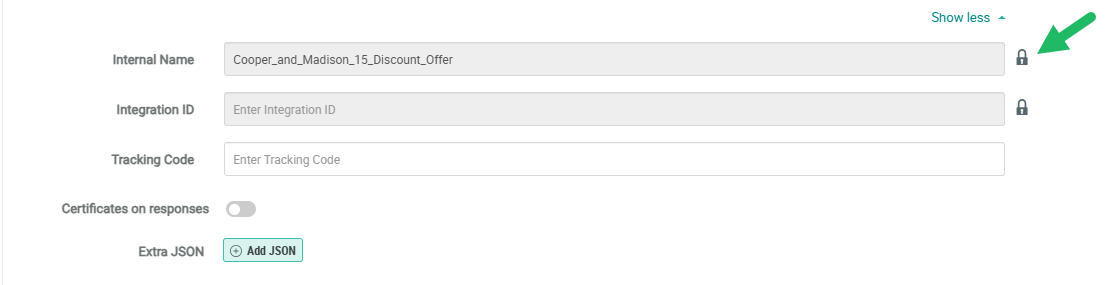
Click the Lock icon next to the Internal Name field to make the field editable. A confirmation dialog box is displayed; click OK.
-
In the Internal Name field, enter a new value. The Internal Name must be unique and can not include any special characters or spaces; only numbers, letters, and underscores are allowed. Do not change the Internal Name once the Offer is published.
-
Click Save.
-
Within the Definitions tab, scroll down to the Coupon and Qualifying Rules section. Click this section header to expand it.
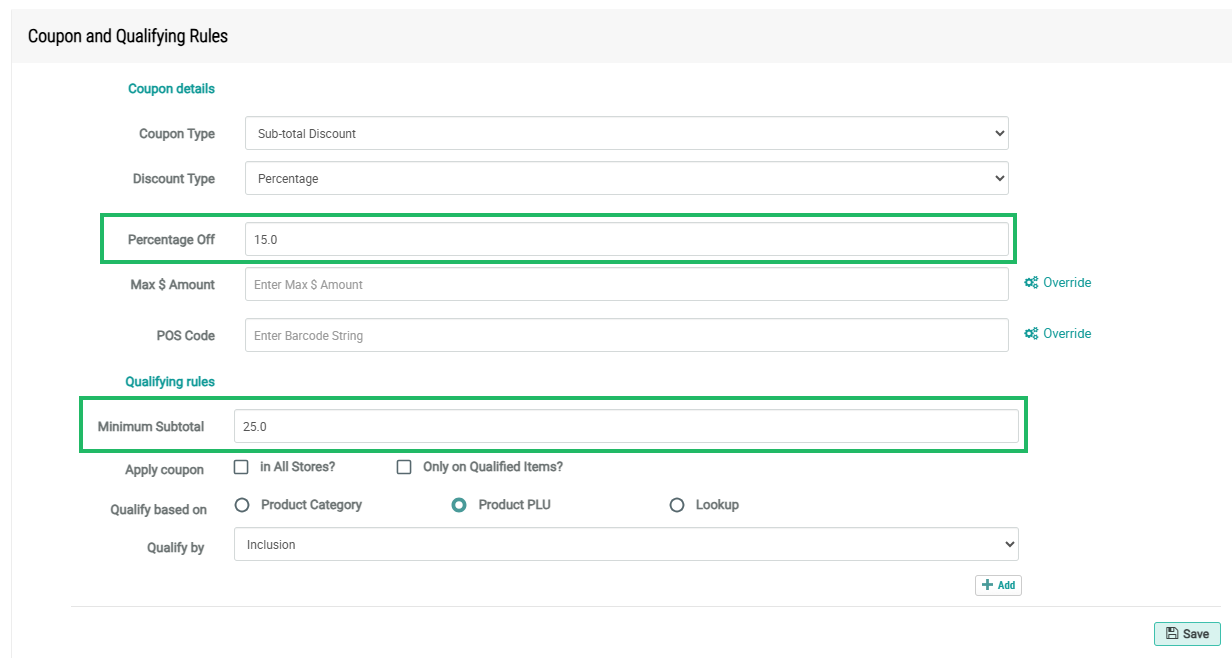
From the base template that you cloned, the Coupon Type is set to Sub-total Discount and the Discount Type is set to Percentage. This configuration will give customers a discount calculated as a percentage of the sub-total spent. Leave these options as set in the template.
Likewise, make sure the Percentage Off is set to 15, and the Minimum Subtotal is set to 25. This configuration will give the Member a 15% discount on their purchase, but with the requirement that the order sub-total is at least $25. Smaller orders (less than $25) will not qualify for the discount.
-
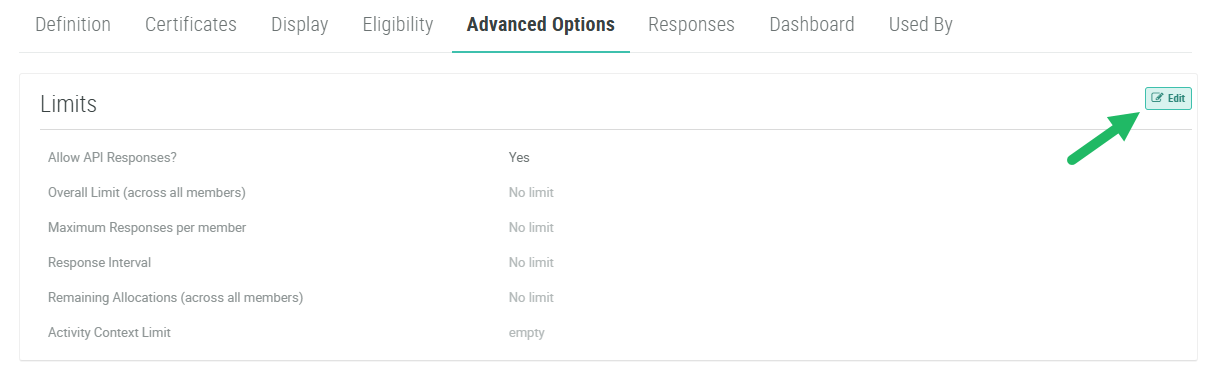
Select the Advanced Options tab.
-
Within the Limits settings, click Edit. The Edit Offer pop-up window is displayed.
-
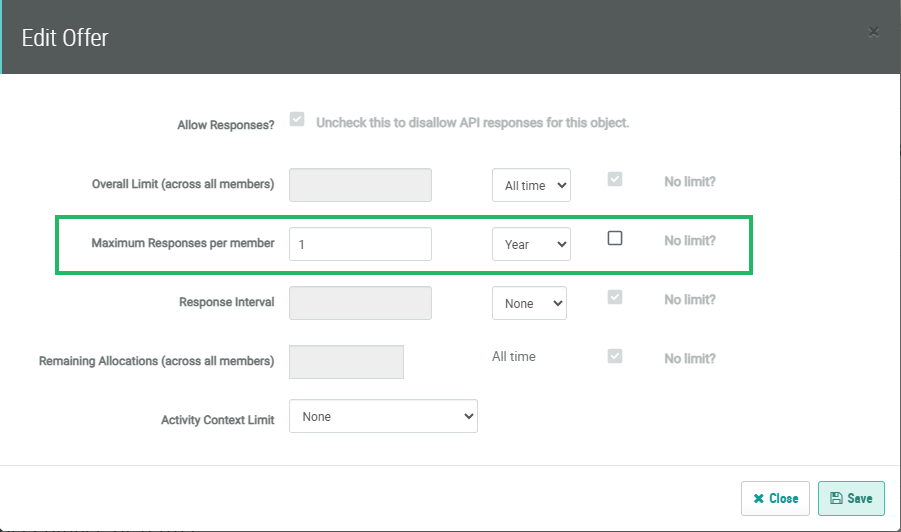
From the base template that you cloned, the Maximum Responses Per Member property is configured to No Limit. For this use case, you want to change the Offer limit to only once per year. Uncheck No Limit next to this property. Enter 1 in the text field, and select Year from the drop-down menu. With this configuration, the platform starts a one-year counter from the date the Member uses the Offer. The Member will not be able to use this Offer again until a year has elapsed.
-
Click Save.
-
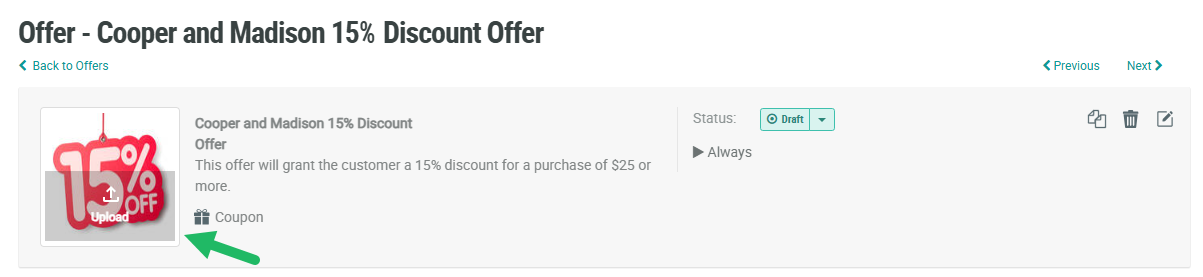
Scroll up to the Offer header area. Click into the image area, and upload a new image from your local PC.
-
To publish the Offer, from the Status drop-down menu in the Offer header area, select Publish. A confirmation dialog box is displayed; click Confirm.
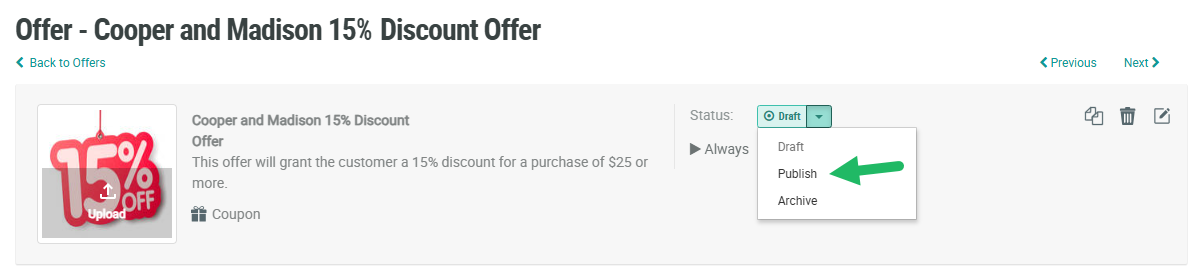
Your Offer has now been configured to attribute a 15% discount to all buyers who made a purchase of $25 or more. Once the offer has been used, it can not be used again within the same year.
